


Imagine the joy when you open a parcel and find it’s your shiny new heated towel rack from Bathroom Butler. Now, you ask yourself, how am I going to install it? Even if you’re not a seasoned weekend DIYer, rest assured that you don’t need special skills to install it yourself.
Here we’re going to take you through everything you need to know to install your heated towel rack yourself and have it up and drying towels in no time.
The prep work
Water and electricity don’t mix, right? How does that affect where you place your heated towel rack?
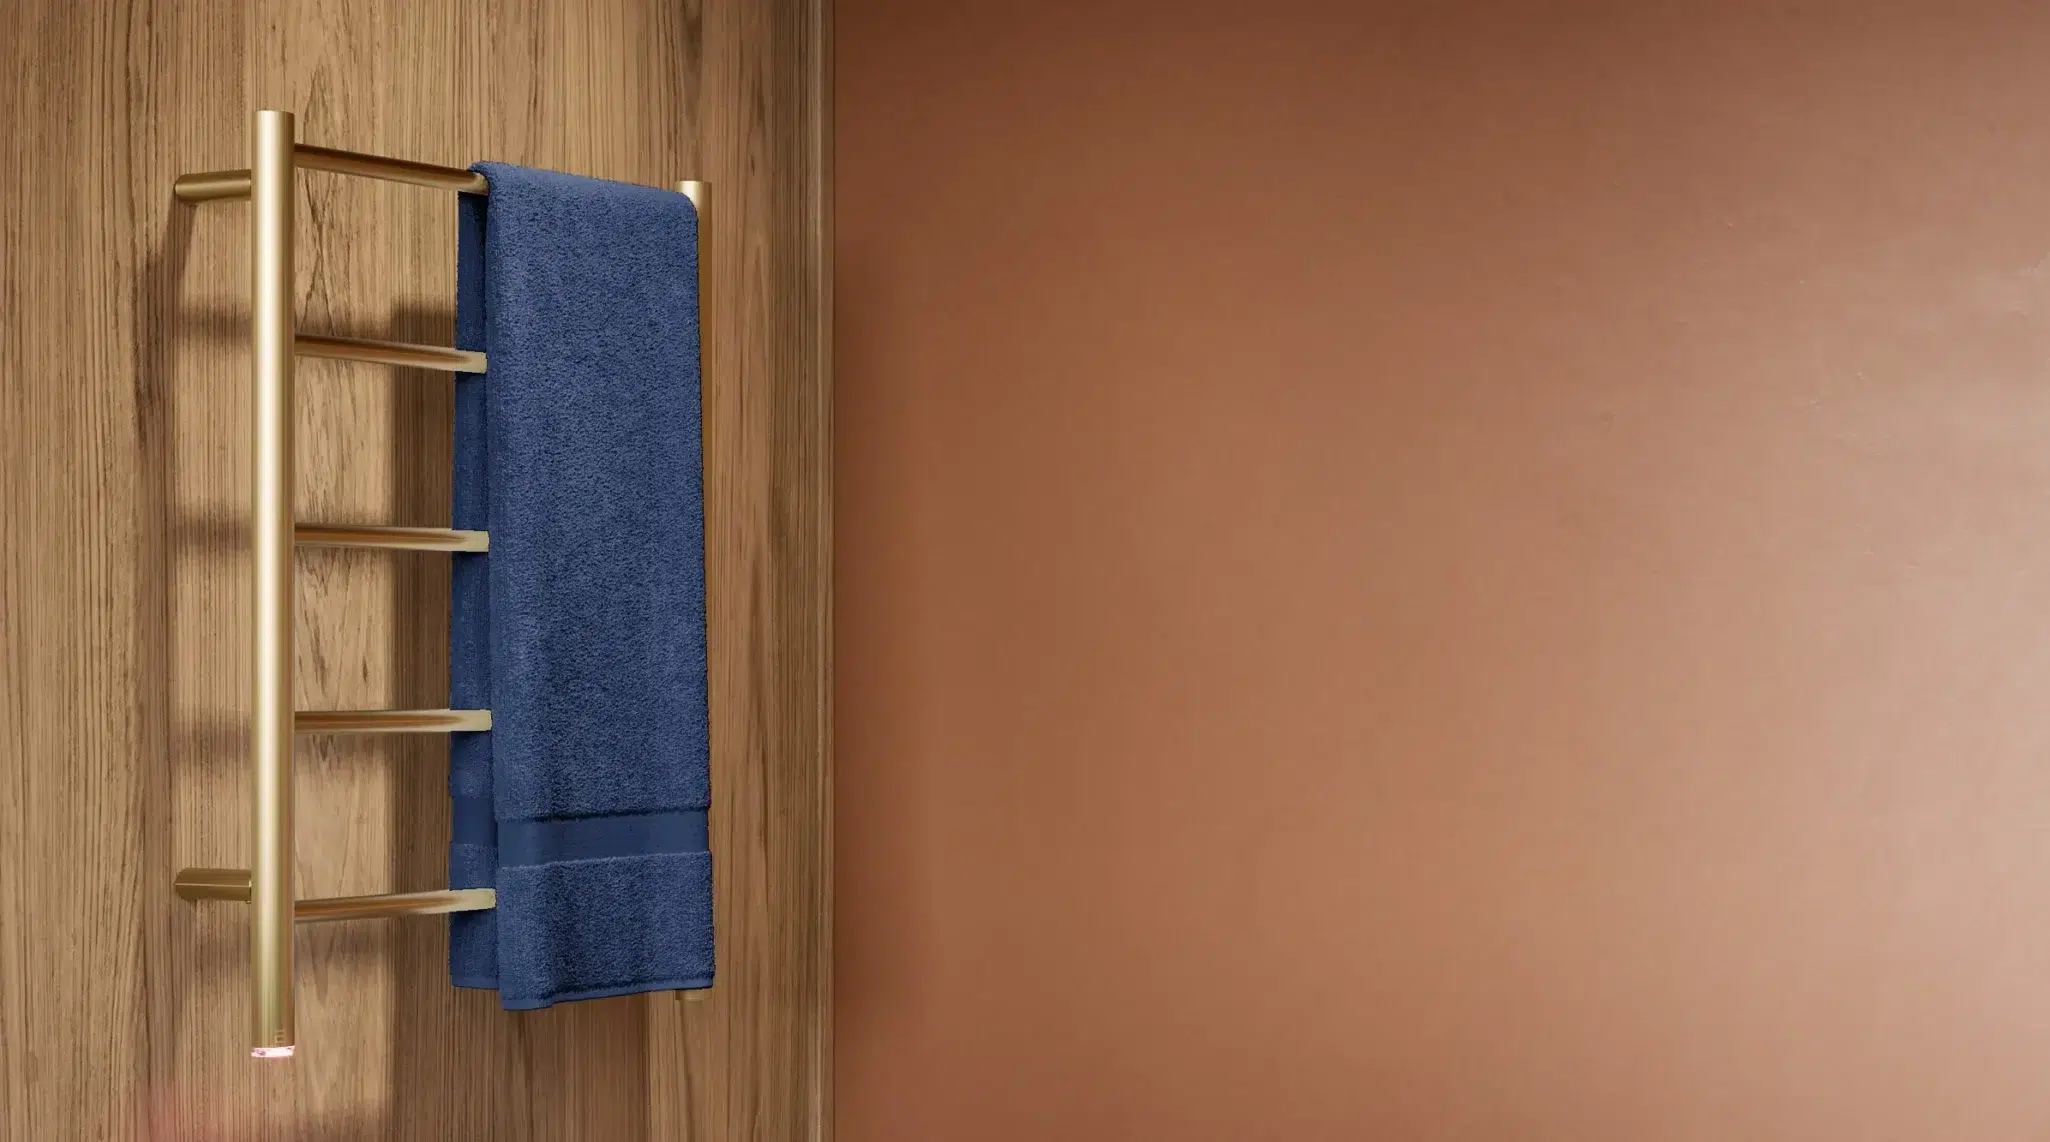
The good news is Bathroom Butler heated towel rails have an IPX5 rating, which means they are certified to be installed just about anywhere in a bathroom. This includes the area above a bath or next to the shower. The only thing you have to remember is the power point has to be about 5 feet away from running water.
If you don’t have an electrical point in the bathroom – or in the right place in the bathroom – get on the phone to an electrician and he will install one no problem. Remember, there are local electrical codes that regulate where in the bathroom a heated towel rack (or any electrical appliance) can be installed.
Our heated towel racks come standard with hard (hidden) wiring, but because nobody likes to be forced into anything, we give you the option to go for visible (exposed) wiring. We personally think hidden wiring just looks so darn good, but if you aren’t too bothered, go for the visible wiring that’ll allow you to ‘plug-and-play’’ the heated towel rack without any fuss.
Quick tips before tiling
if you’re remodeling, consider where you want your electrical point to be before putting any tiles on the wall. Similarly, if you’re going for hard wiring, the conduit through which the heated towel rack’s cable runs will have to be installed into the wall before you start tiling as well.